Feeling a strong desire to get involved in a hardware project, I bought a smart outlet. But before buying, you should always find the best offer, so thanks to @CakesTwix for the advice and answers to my questions. And to all the other participants in the XMMP chat!
There are numerous smart devices, but not all of them can run libre firmware. After determining the required device model and how to flash it, I ordered two Aubess 20A smart plugs. Plugs might have different hardware, but in my case it is BK7231N chip on CB2S module. There was a Wi-Fi exploit to flash the device without opening it, although it has been patched for a while now. Initially, I didn’t intend to use the exploit and wanted flash via UART. Looking back I wish I had that exploit.
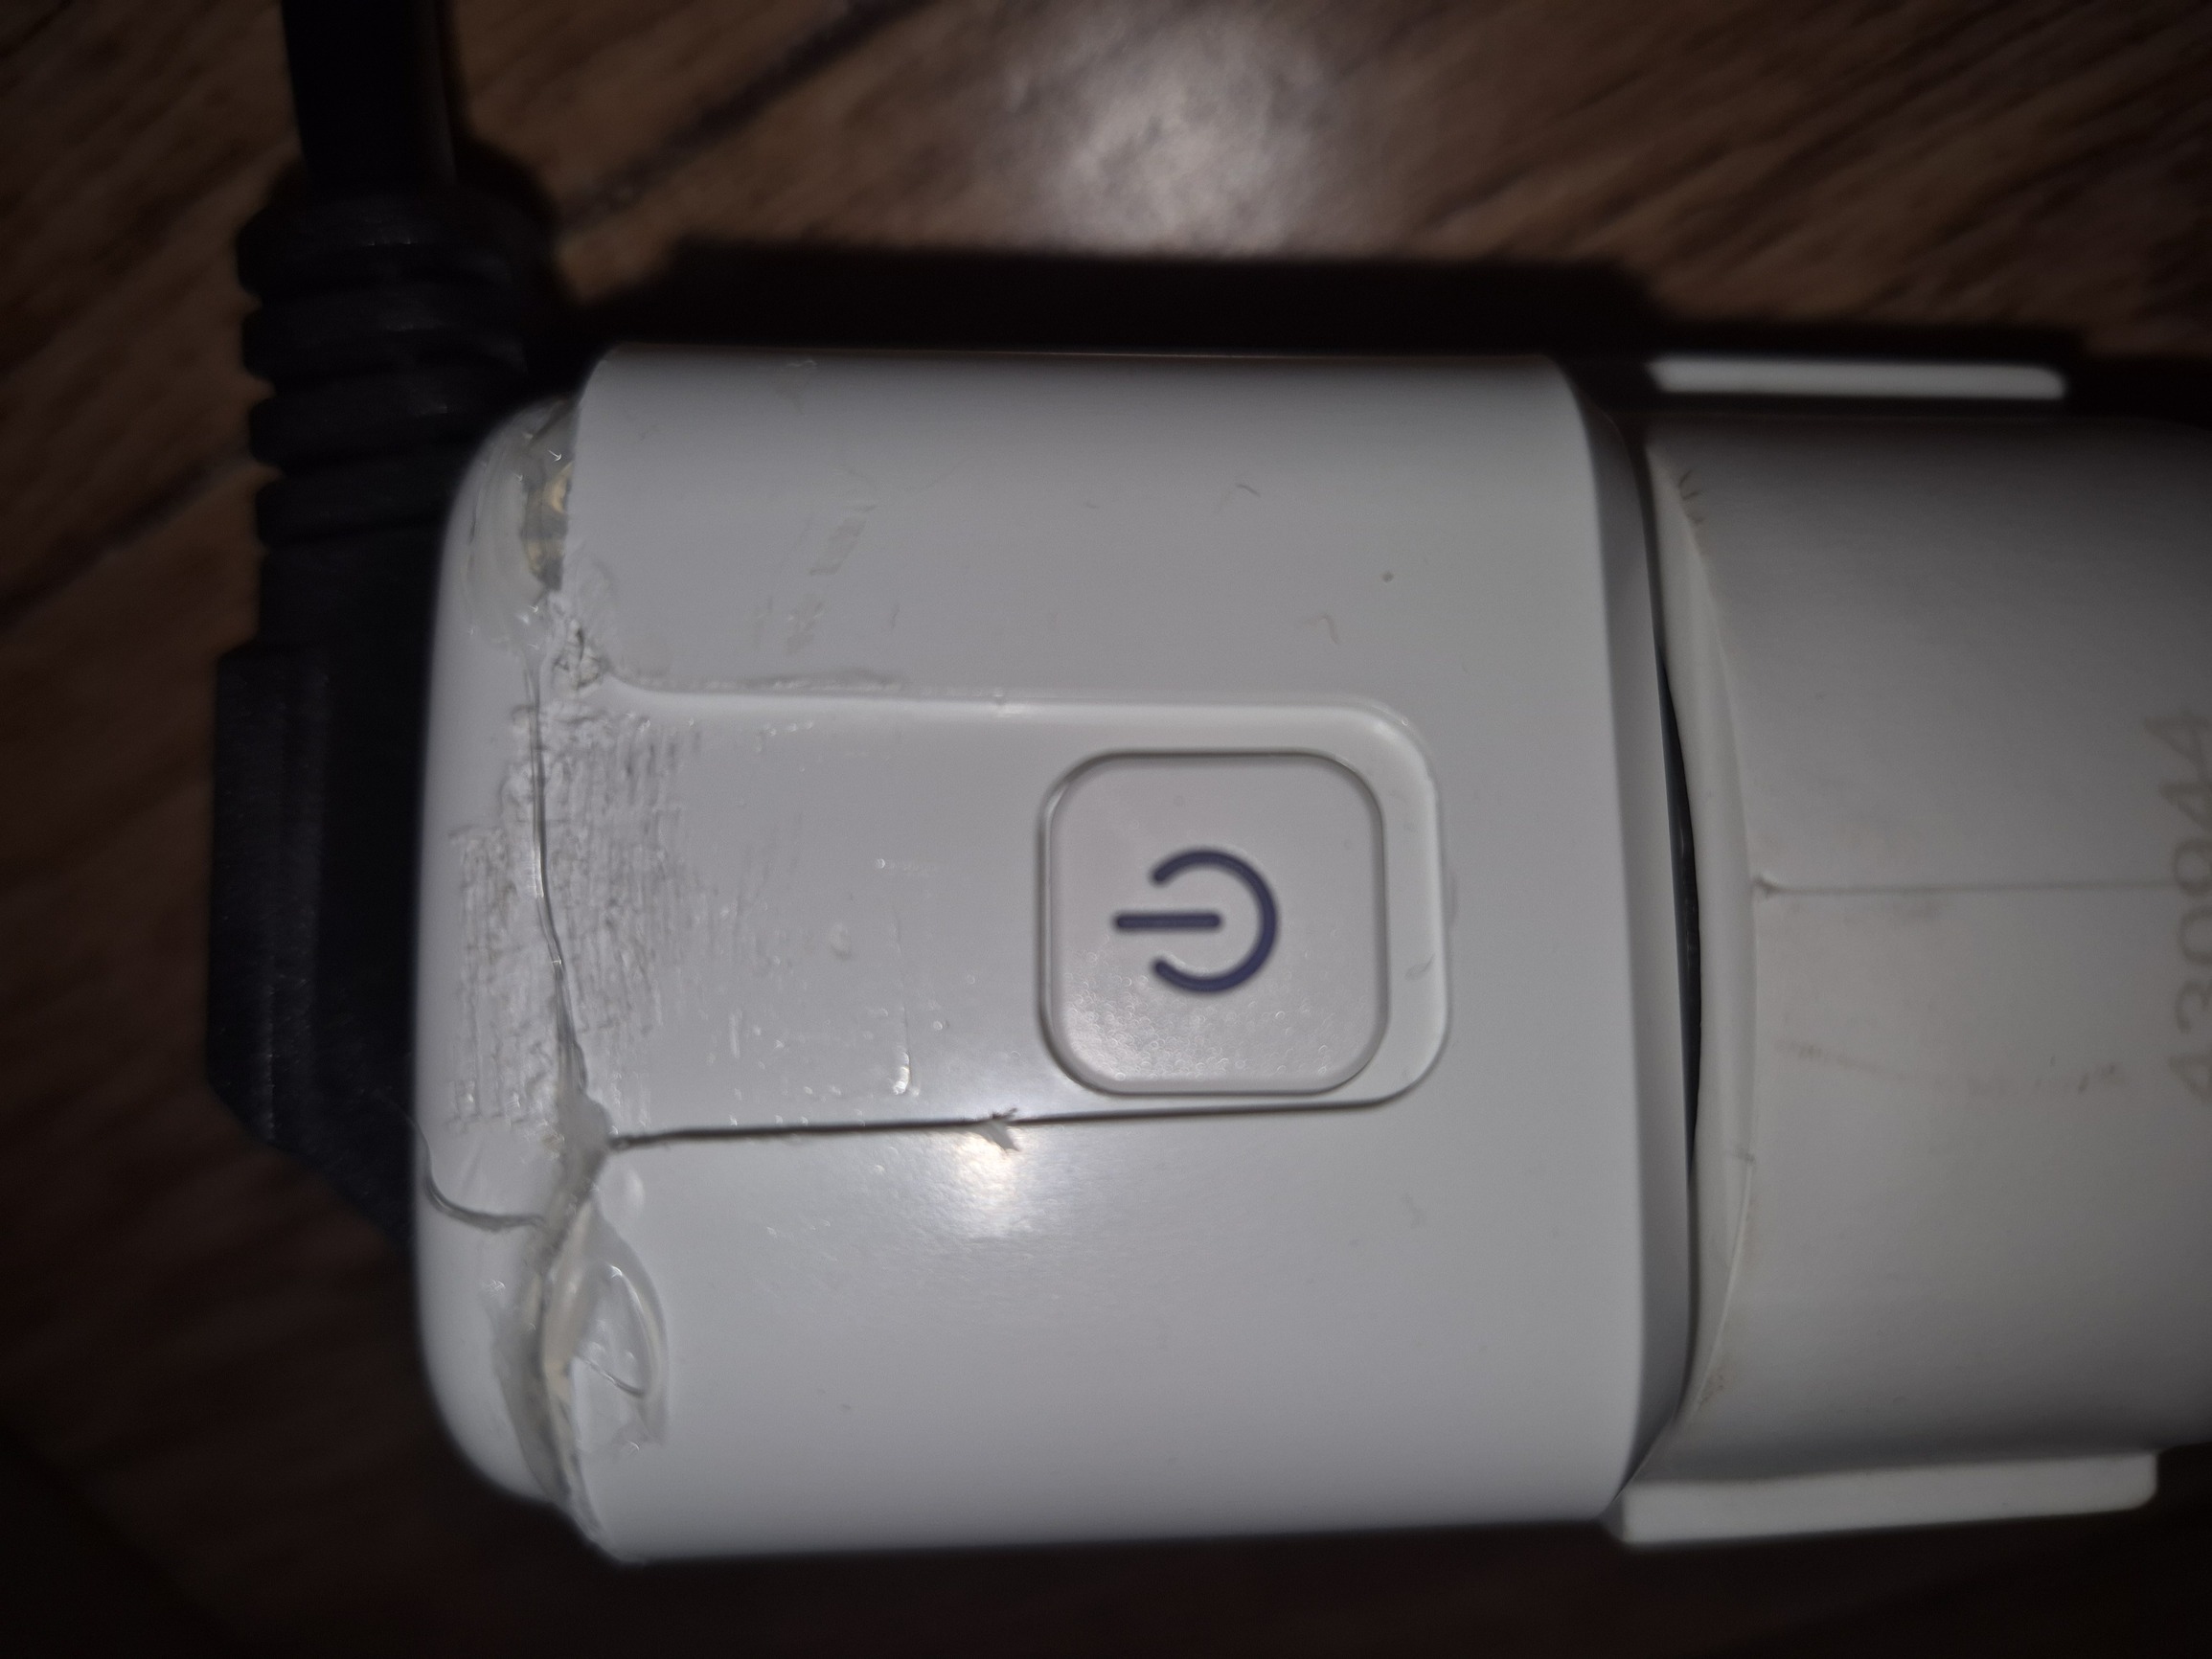
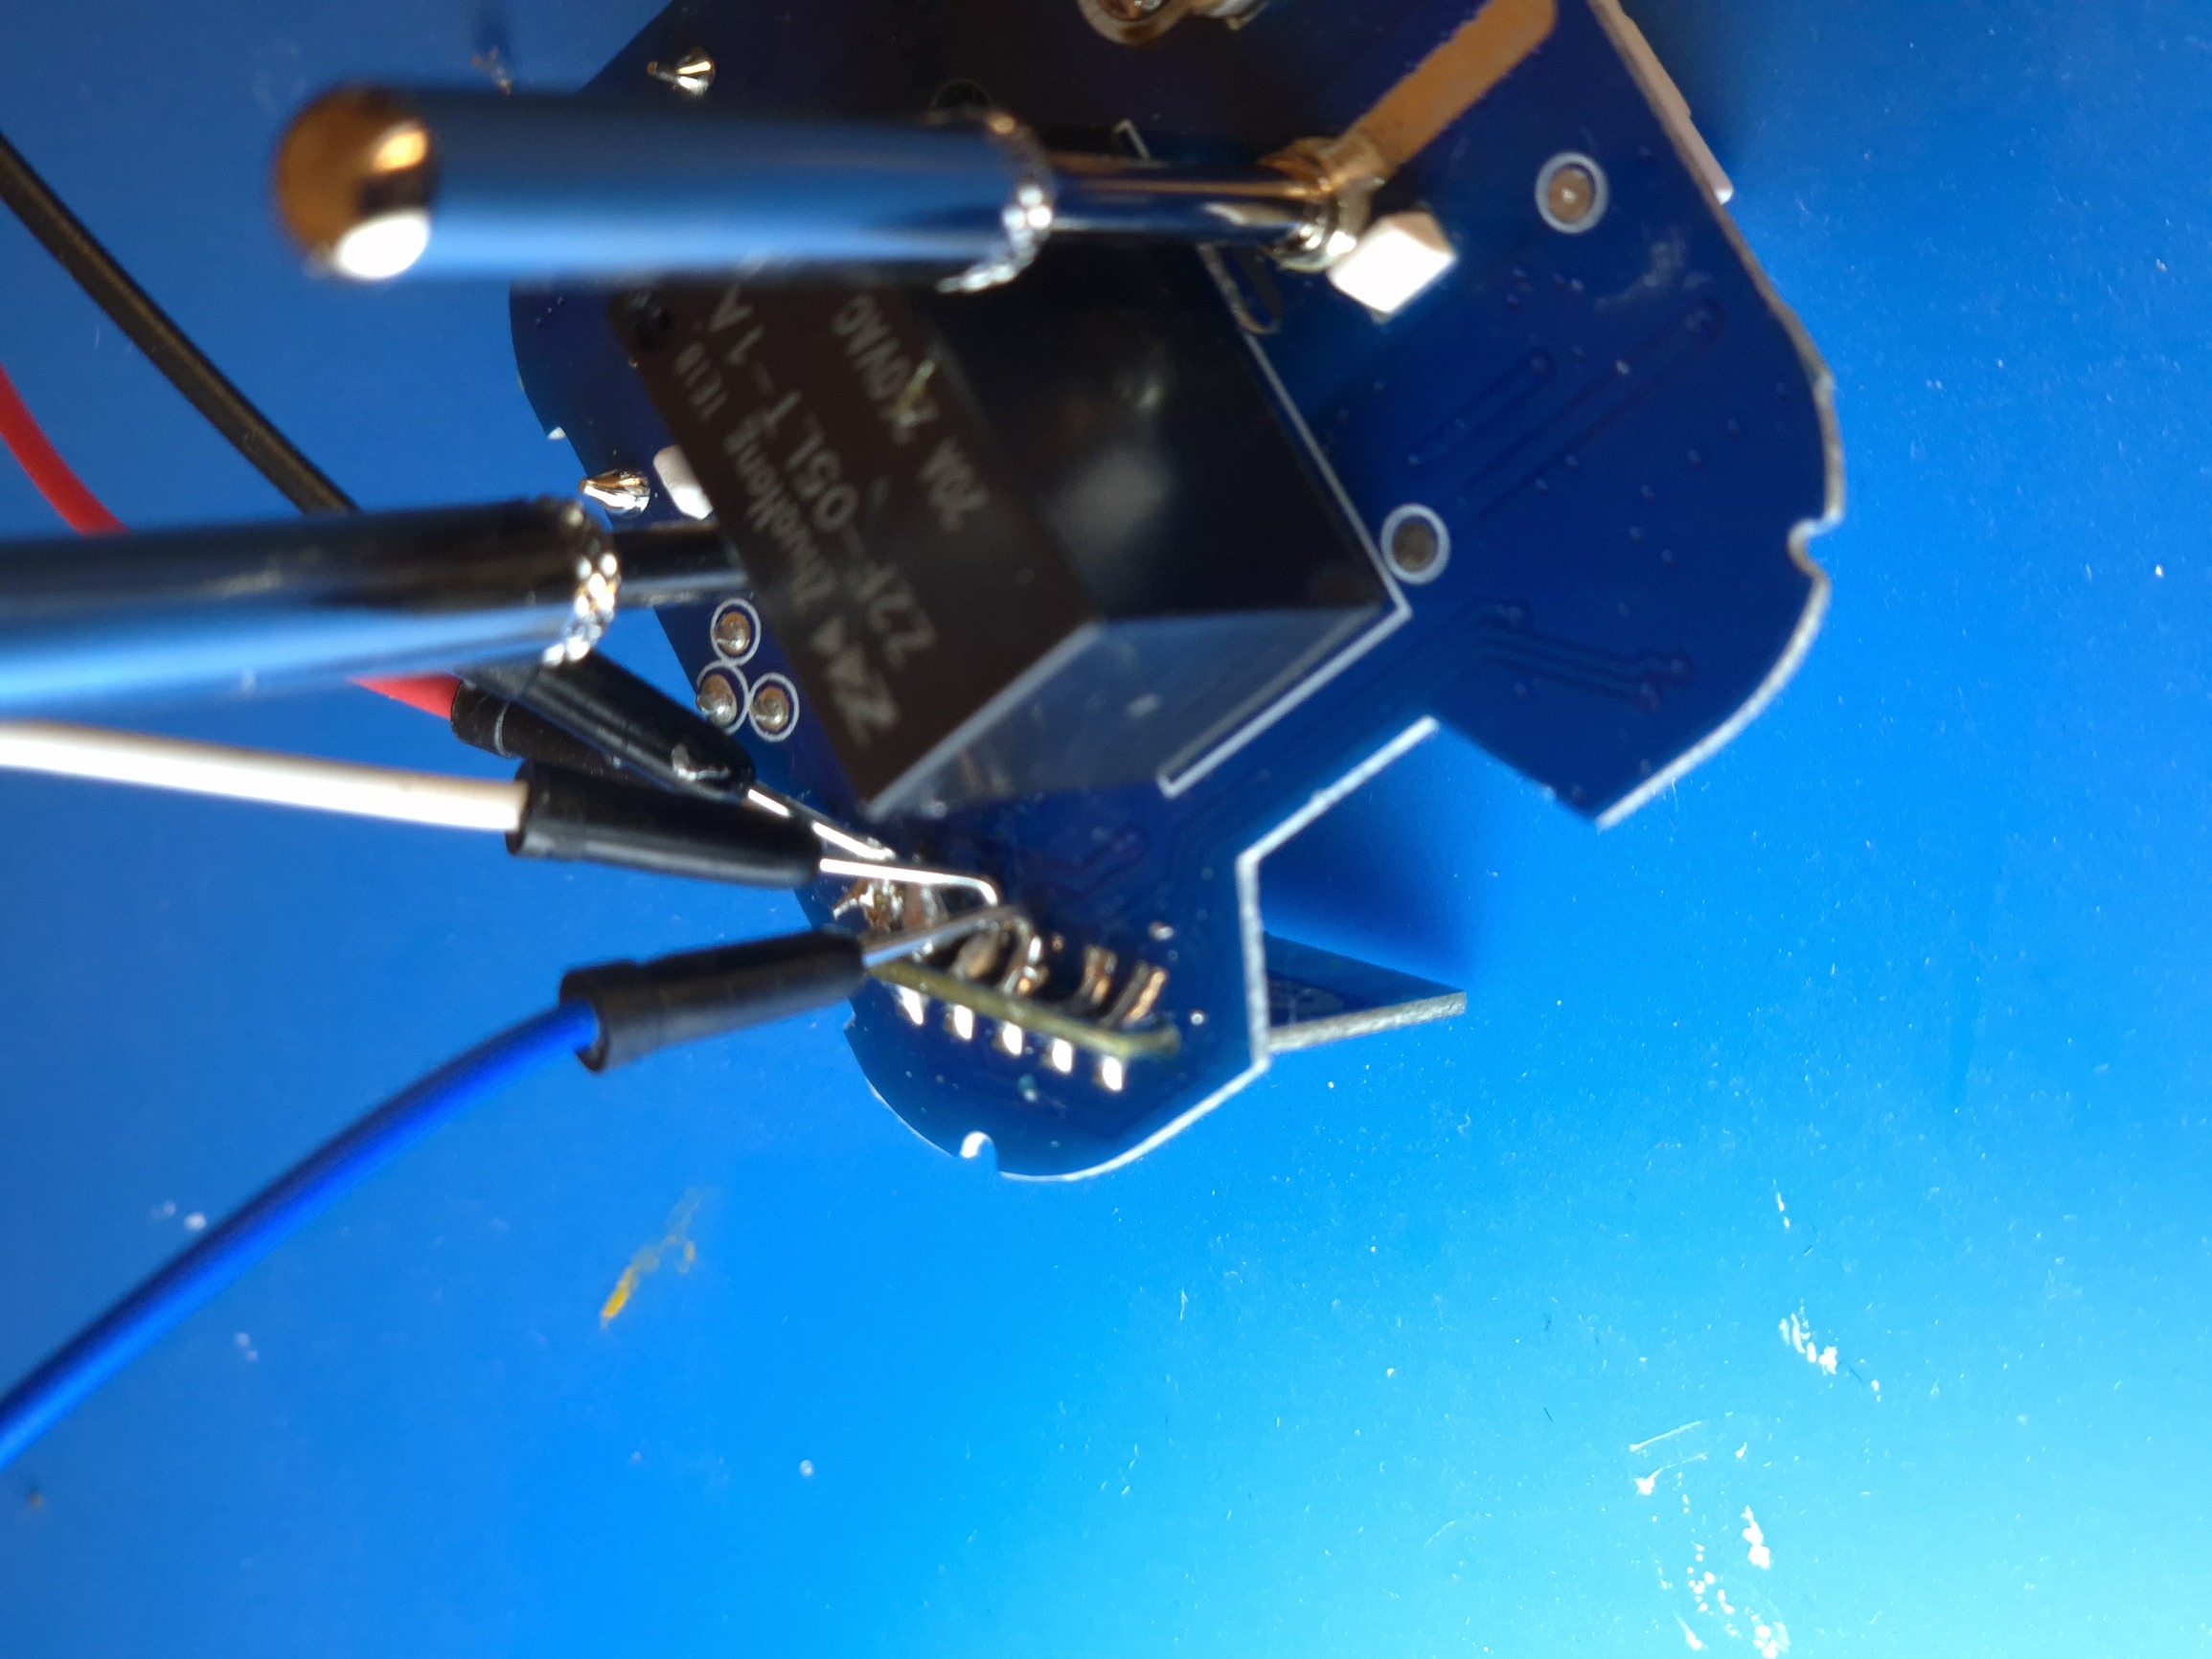
To get to the UART pins, you need to remove the internals from the device’s case. If only I knew how much the Chinese don’t want me to disassemble their devices!
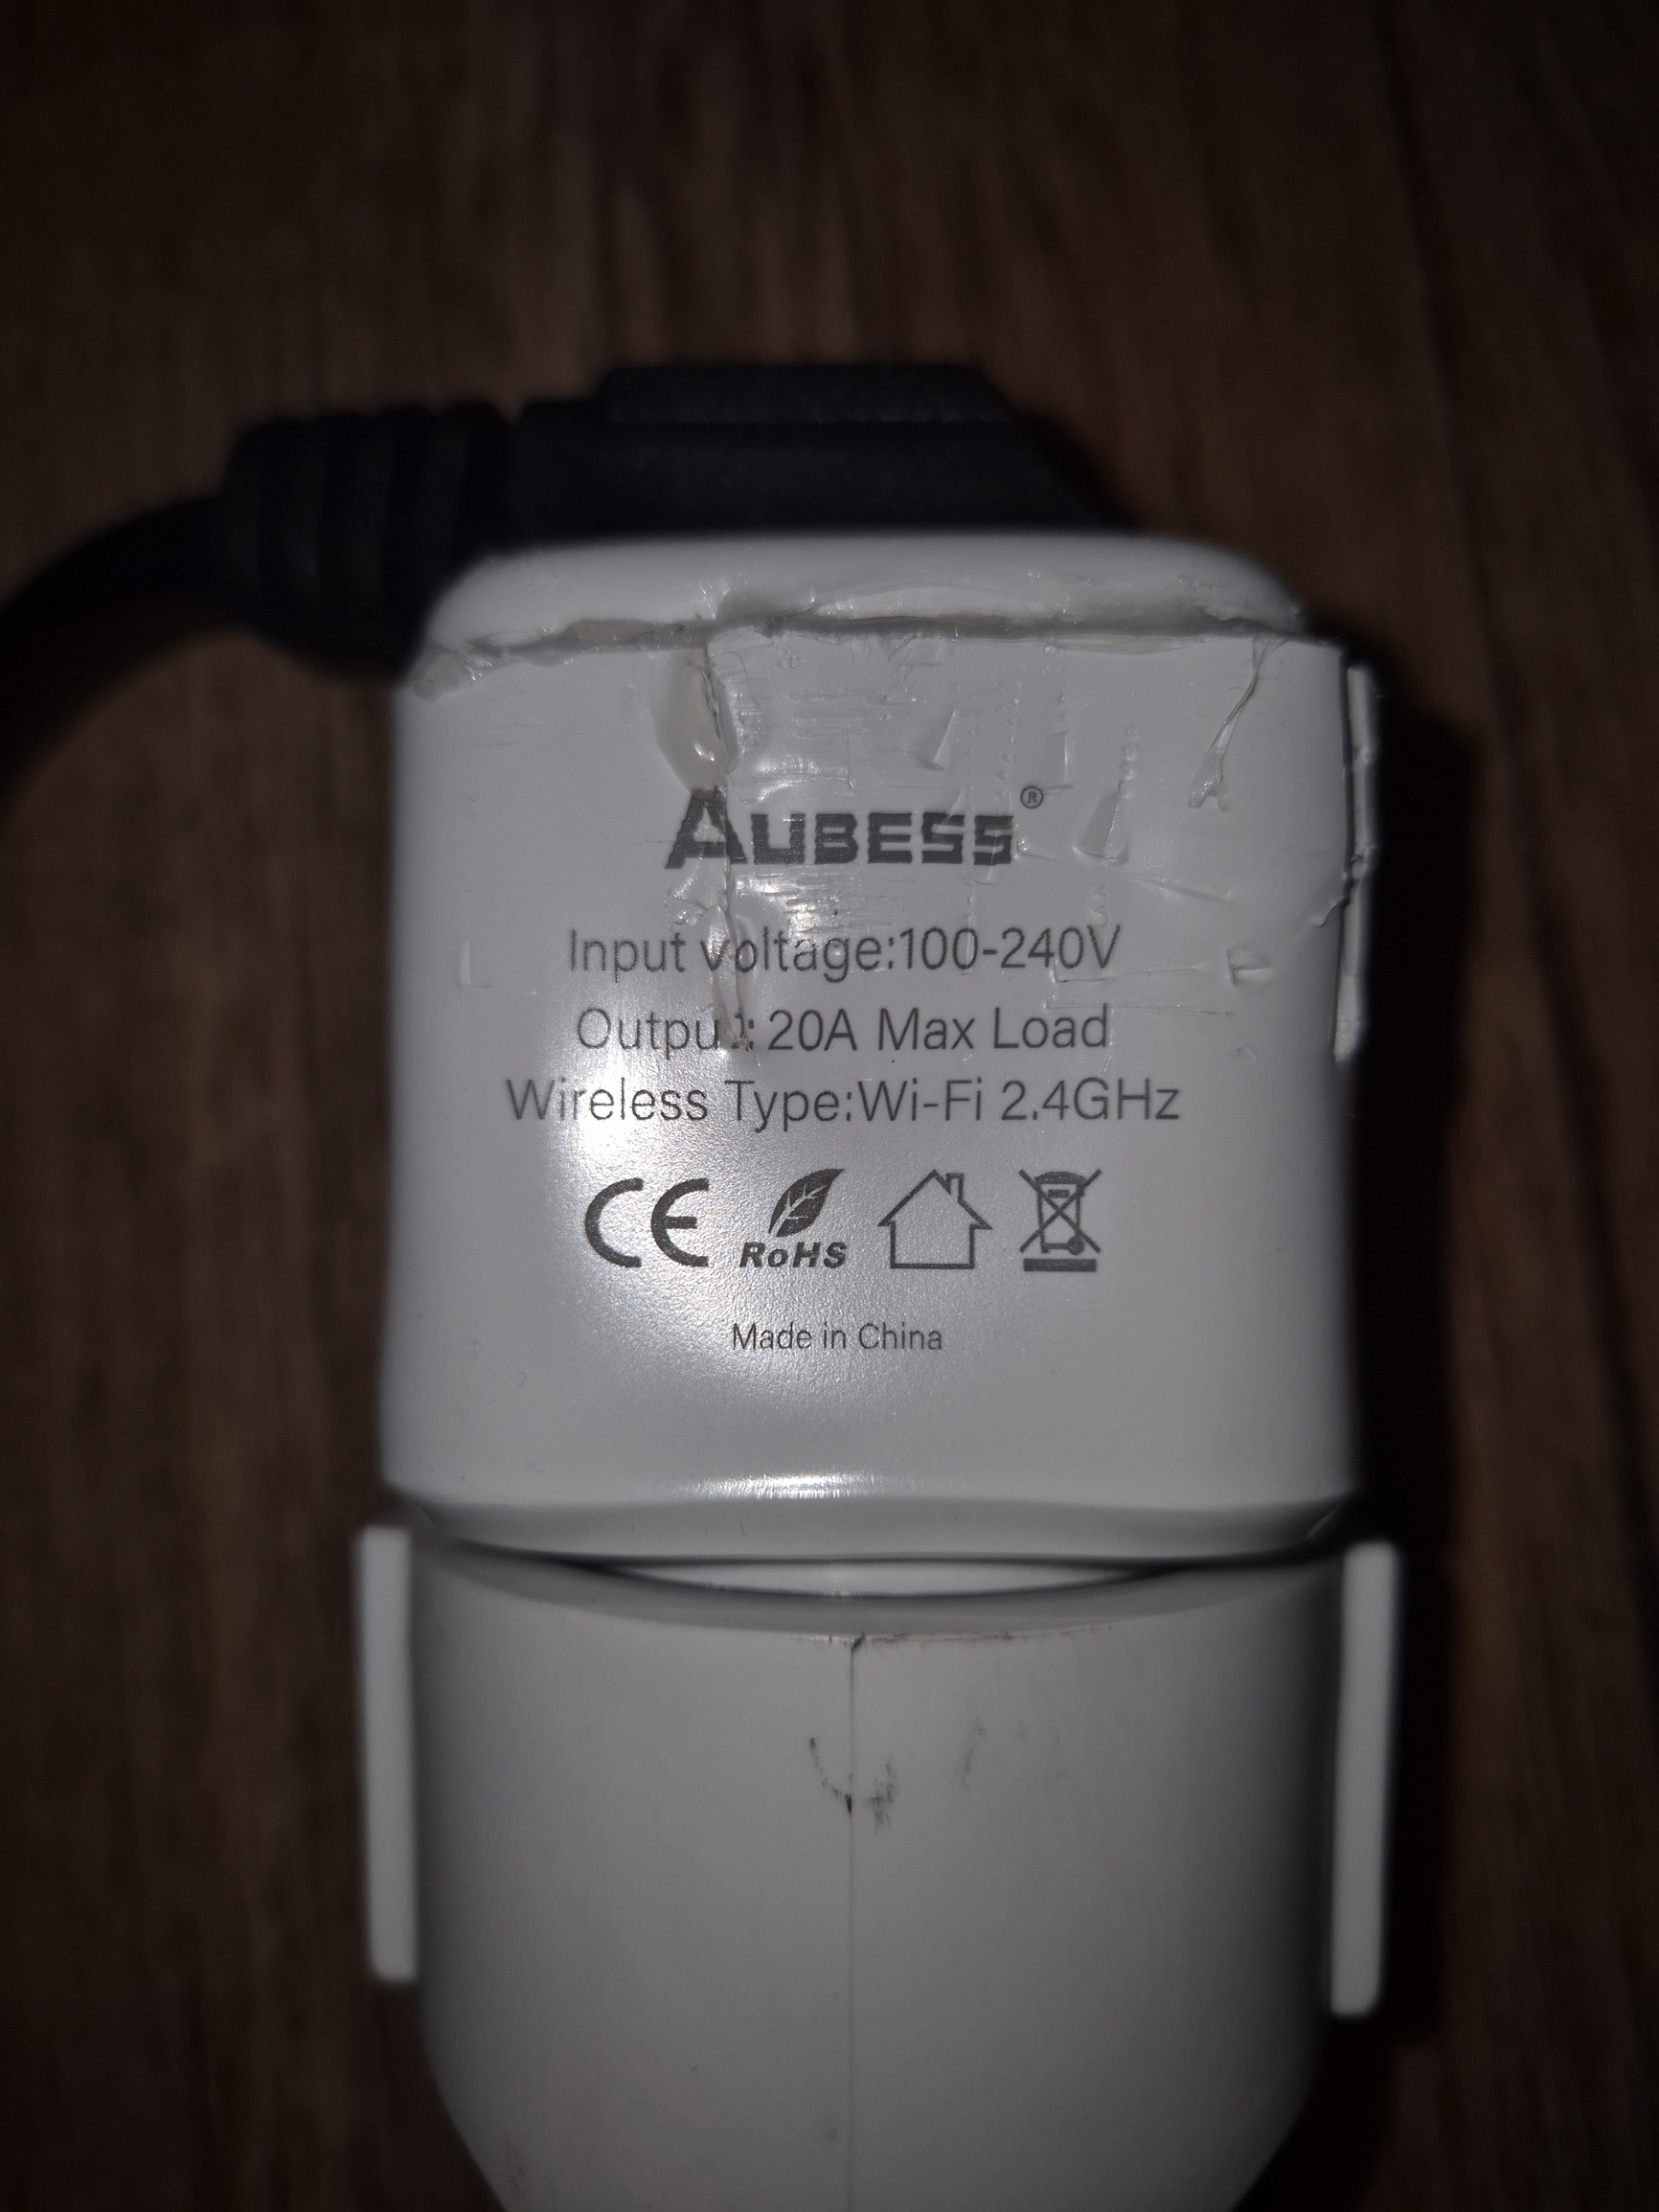
I believe that the case is glued, because disassembly was really hard. I tried heating, bending, pulling but with no luck. The result is the same – you need to partly destroy the case to get access to internals. If you’ve not damaged your device – congratulations, good job.
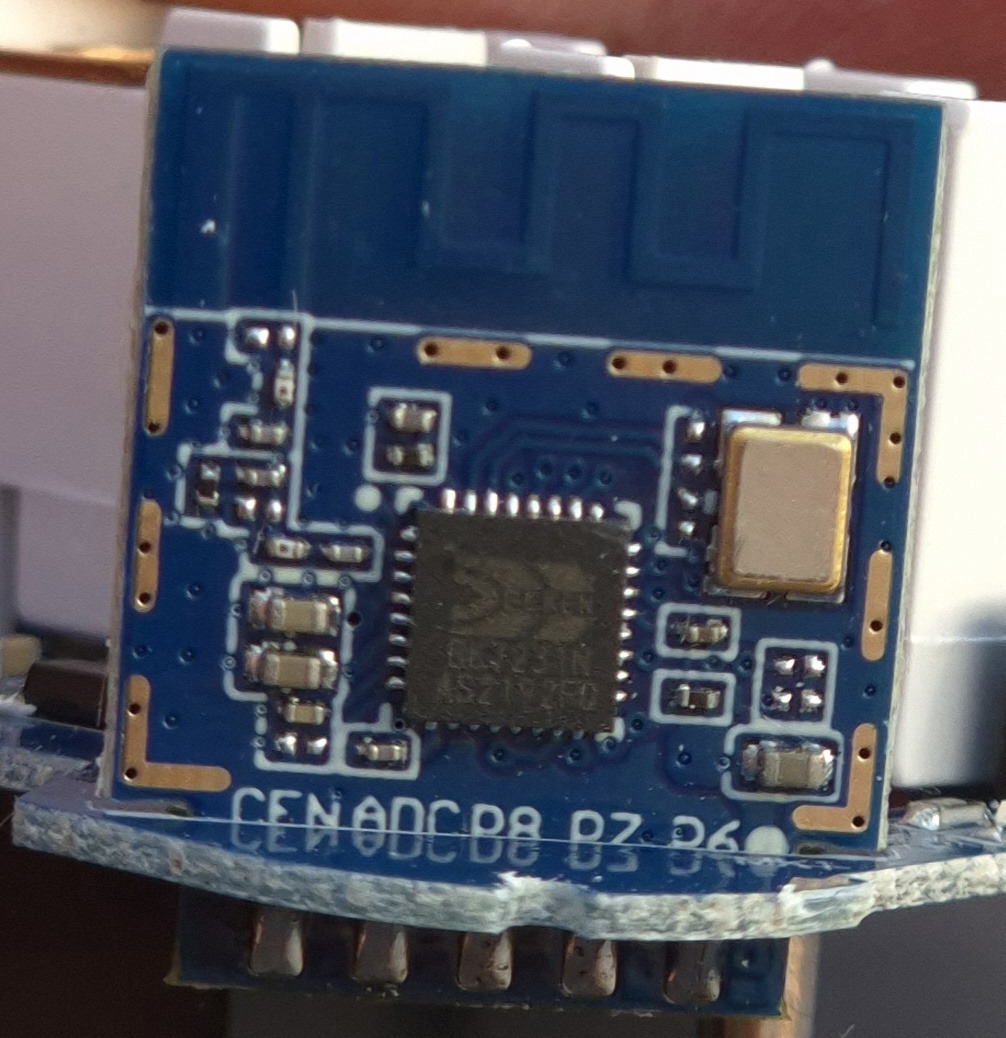
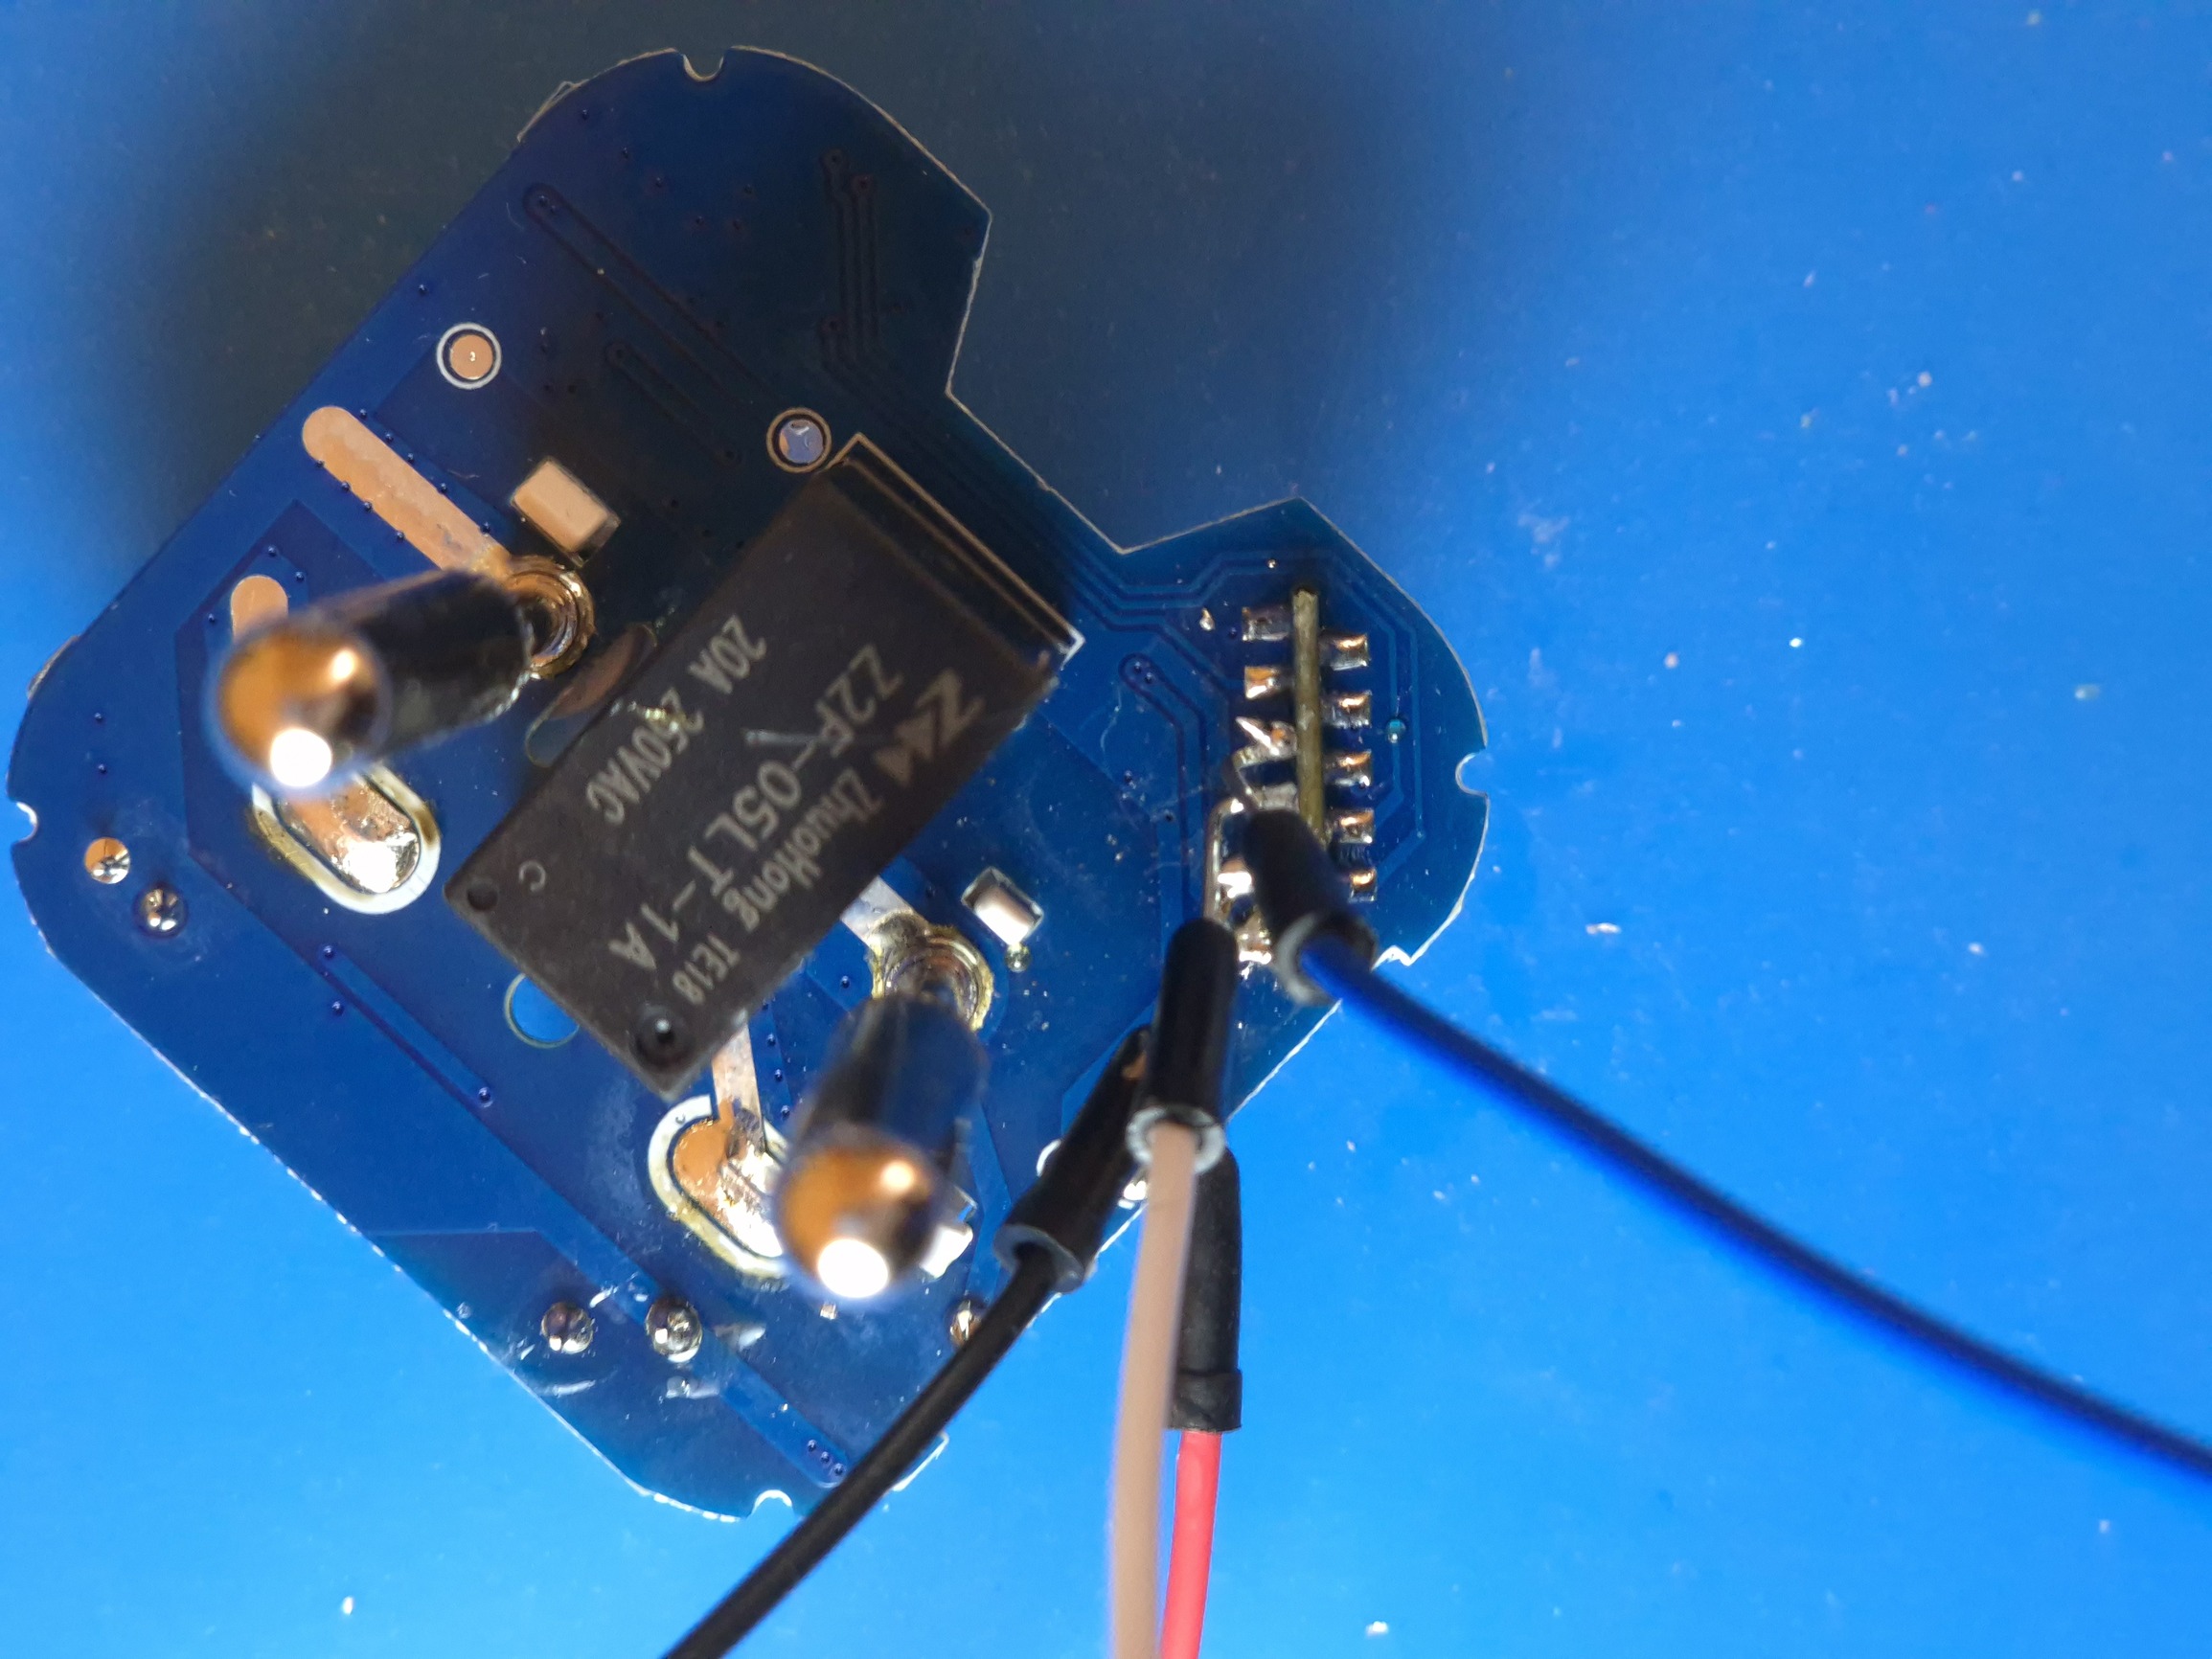
After finding out the exact chip model, I could find device entry in https://openbekeniot.github.io/webapp/devicesList.html and more information on the forum https://www.elektroda.com/rtvforum/topic4031269.html about the chip. It even contains premade config for OpenBeken firmware. The module from the picture has two sides, each of which has different contact pads. To connect to UART you only need to solder four wires: 3.3V, Ground, TX, RX. You might need to solder fifth wire to CEN pad, since you will need to reset the module on flashing stage, and connecting it to the ground restarts device.
I expected that after UART soldering the next stage will be easy. Of course something didn’t work, as one can expect. To begin, almost all GUI flash utilities are compiled as windows executables, a big downside. There are CLI flashers available for Linux. I run https://github.com/openshwprojects/BK7231GUIFlashTool with mono on Linux, but on reading it timed out. Maybe one need to time their short-circuiting of CEN pin to the ground, but I struggled with it for somet time, although it worked in the end. When it finally got past reading (still running on linux) another error showed up: expected to read N bytes but got X… Searching for this error I found a forum post suggesting to use https://github.com/OpenBekenIOT/hid_download_py, which is legacy flasher. To my surprise it worked. Firstly, read all memory to have a backup, but even that didn’t go smoothly – CRC hash mismatch. Ignoring the log started flashing with the latest OpenBeken firmware https://github.com/openshwprojects/OpenBK7231T_App/releases/. Now I have working OBK powered smart plug! The only thing was left is to set up Wi-Fi SSID and password, luckyly BK7231GUIFlashTool worked this time.
But who does need smart plug without cool and shiny GUI with widgets and stuff? The rest of the next day I spent setting up HomeAssistant on NixOS https://codeberg.org/knightpp/nixos-cfg/commit/0894916bd1c2d1c5c1c4673916dc75a7078762c7.